
A traffic signal chart for school is a large poster that shows the red, amber and green lights, the main Indian road signs and a few key road rules, drawn clearly so the whole class can read it from the back bench. You can make one in an afternoon with chart paper, sketch pens and some coloured paper. This guide tells you what to put on it, how to plan the layout and how to make it last on the wall.
Quick facts
Size
Full size chart paper, about the width of your arms held a little apart, works well for a class wall.Must have
The three signal lights, a few sign shapes and five or six short rules.Sign shapes
Red circle for mandatory signs, red bordered triangle for cautionary signs, blue rectangle for informatory signs.Time needed
Two to three hours, or two short sessions if you work in a group.Best tools
Pencil, ruler, round lid or compass, sketch pens, glue stick and coloured paper.Safety
Ask an adult to handle the cutter and any glue gun.
What goes on a traffic signal chart for school
Teachers usually want a chart that teaches, not just one that looks pretty. Plan to show these five blocks:
- The signal lights: red on top, amber in the middle, green at the bottom, with one line on what each means.
- Mandatory signs: two or three red circle signs, such as No Entry, Stop and Speed Limit.
- Cautionary signs: two or three red triangle signs, such as School Ahead and Pedestrian Crossing.
- Informatory signs: one or two blue rectangles, such as Hospital or Parking.
- Key rules and a slogan: short lines that a class 3 child can read in one go.
If your teacher asked for a traffic rules chart for school instead of a signal chart, keep the same blocks but give the rules more space and make the lights smaller.
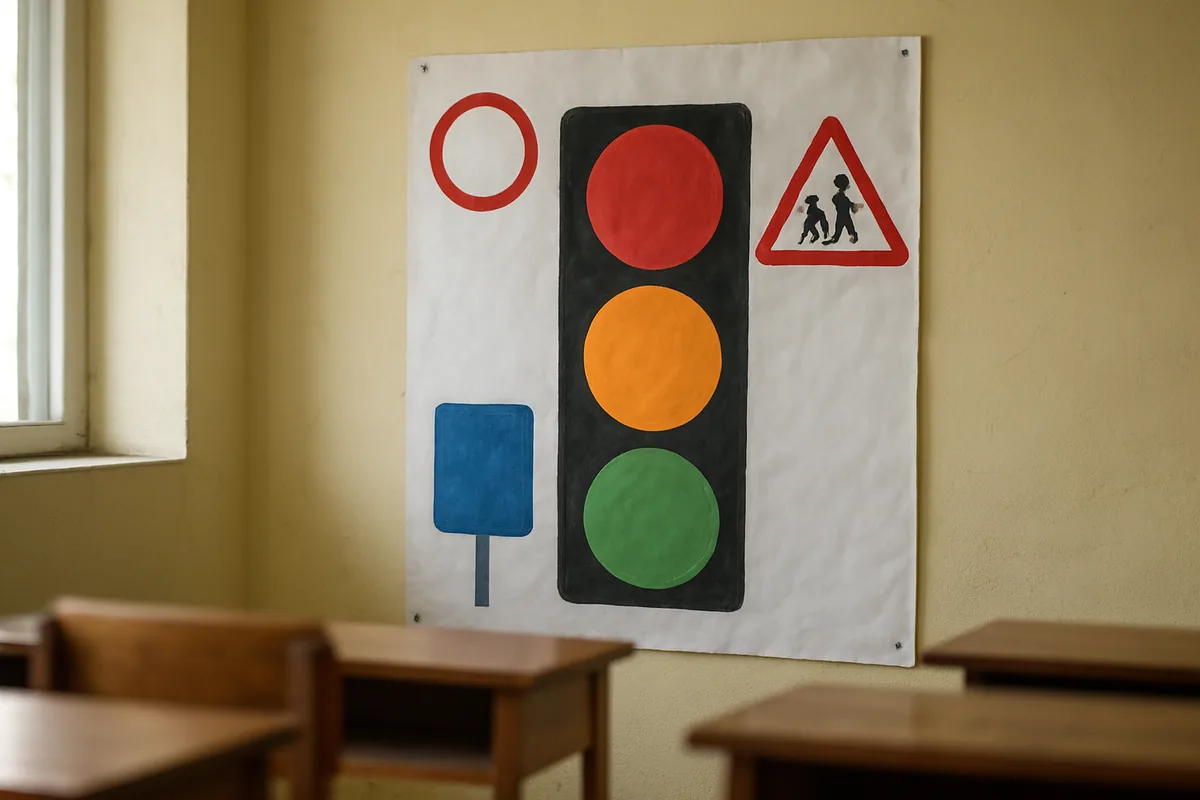
The three lights and what each one means
Draw the signal as a tall black box with three circles. Use a round lid so the circles are even. Next to each light write one clear line.
| Light | Position | Line to write |
|---|---|---|
| Red | Top | Stop and wait behind the stop line. |
| Amber | Middle | Get ready, the light is about to change. |
| Green | Bottom | Go, but look left and right first. |
Many crossings in Indian cities also have a walk signal for people on foot. A small red standing figure and a green walking figure in one corner make the chart more complete. If you want to build a working light, see our traffic light project page.
Indian sign groups to draw, with the right shapes
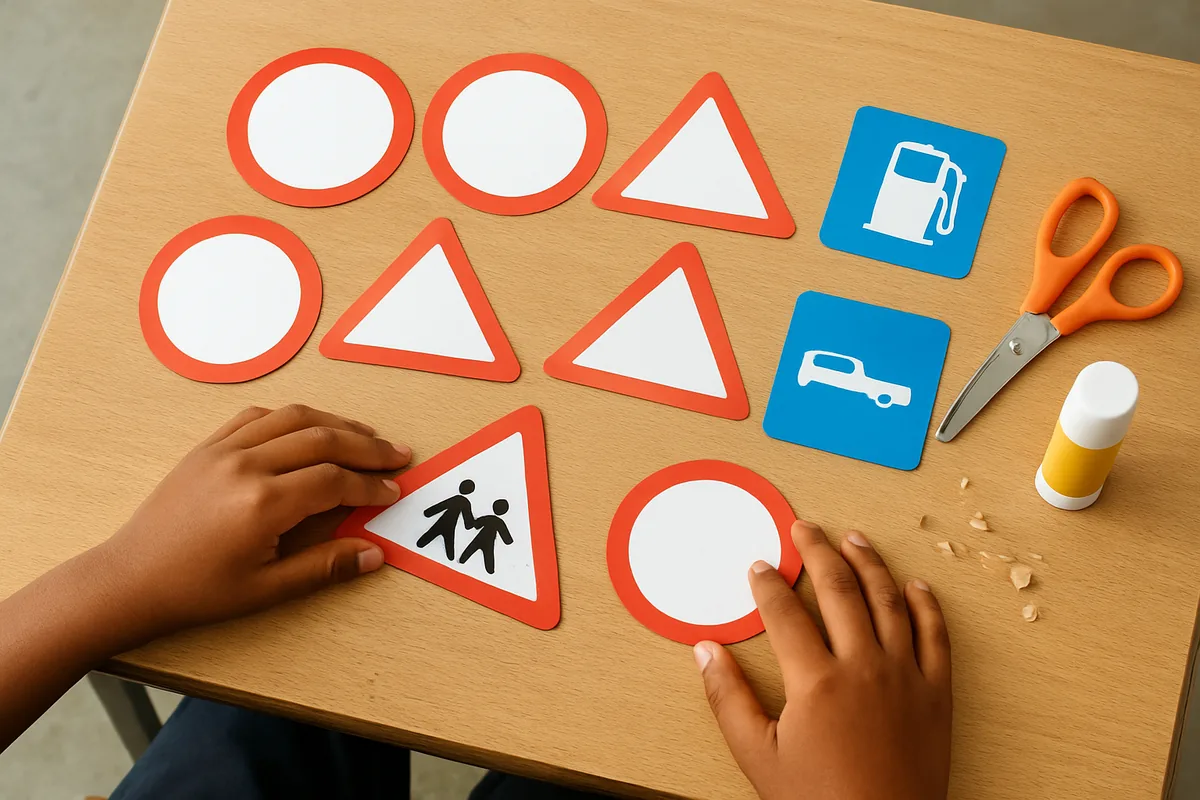
Shapes matter. A checker will notice if a warning sign is drawn as a circle. Under the Indian road sign system the groups look like this:
- Mandatory signs are red circles. They give orders, such as No Entry, No Parking, No Horn and Compulsory Left. Breaking them is an offence.
- Cautionary signs are triangles with a red border and a white middle. They warn you about what is ahead, such as a speed breaker, a sharp bend or a school.
- Informatory signs are blue rectangles. They give useful facts, such as a petrol pump, a hospital or a bus stop.
The School Ahead sign is the one every student should know. It is a red triangle with two children walking, and drivers must slow down when they see it. Our page on the School Ahead sign explains it in detail.
Key road rules to add
Pick five or six rules. More than that makes the chart look crowded. Good choices for Indian students are:
- Walk on the footpath, or on the right edge of the road facing traffic if there is no footpath.
- Cross only at the zebra crossing or when a traffic police officer signals you.
- Look right, then left, then right again before you step off.
- Wear a helmet on a two wheeler, even as a pillion rider.
- Buckle your seat belt in a car and in the school van.
- Get on and off the school bus only when it has fully stopped.
- Never run behind an auto rickshaw or a reversing vehicle.
Remember that India drives on the left. Draw any road or vehicles on the chart keeping to the left side.
Slogans written fresh for your poster
A short slogan at the bottom pulls the chart together. Here are a few new ones you can use or change:
- Red means rest, green means go, amber means slow.
- A helmet on the head keeps the worry away.
- Zebra stripes are your safe path home.
- Seat belt clicked, journey ticked.
- Wait one minute, save your whole life.
- Slow near schools, children cross here.
Write the slogan in big bubble letters and fill them with one colour. Two colours of letters in one slogan is the most you need.
Plan the layout before you colour
A good school traffic rules poster has a clear path for the eye. Try this plan on full size chart paper:
- Write the title across the top in big letters, about a hand tall.
- Put the signal box on the left third of the sheet, from top to middle.
- Fill the right two thirds with three rows of signs: red circles, then triangles, then blue rectangles.
- Place the rules in a box under the signal.
- Keep a strip at the bottom for the slogan.
- Leave a margin of about two fingers on every edge.
Sketch everything in light pencil first, then check spelling, then colour. Rub out the pencil lines last.
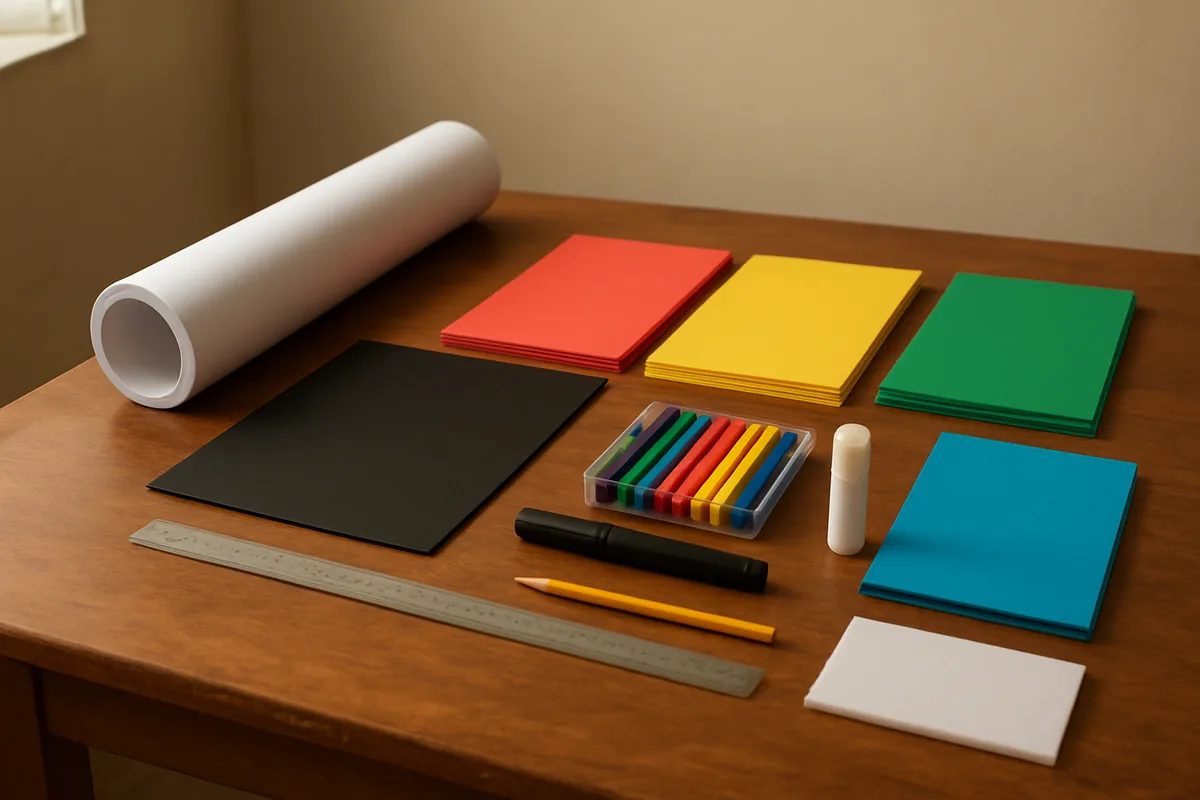
Materials list and how to make it last
| Item | Use |
|---|---|
| White or light chart paper | Base sheet |
| Black chart paper | Signal box |
| Red, yellow, green and blue coloured paper | Lights and sign shapes |
| Sketch pens and a thick black marker | Outlines and words |
| Glue stick, ruler, pencil, eraser | Planning and sticking |
| Thin thermocol sheet or cardboard (optional) | Backing so the chart stays flat |
| Clear tape or a plastic sleeve | Protecting the edges |
For a 3D look, stick the coloured circles on small cardboard rings so they stand out. Some students add a red, amber and green food chart on the back as a second side. That is a different idea about healthy eating, and our classroom light chart page mentions it.
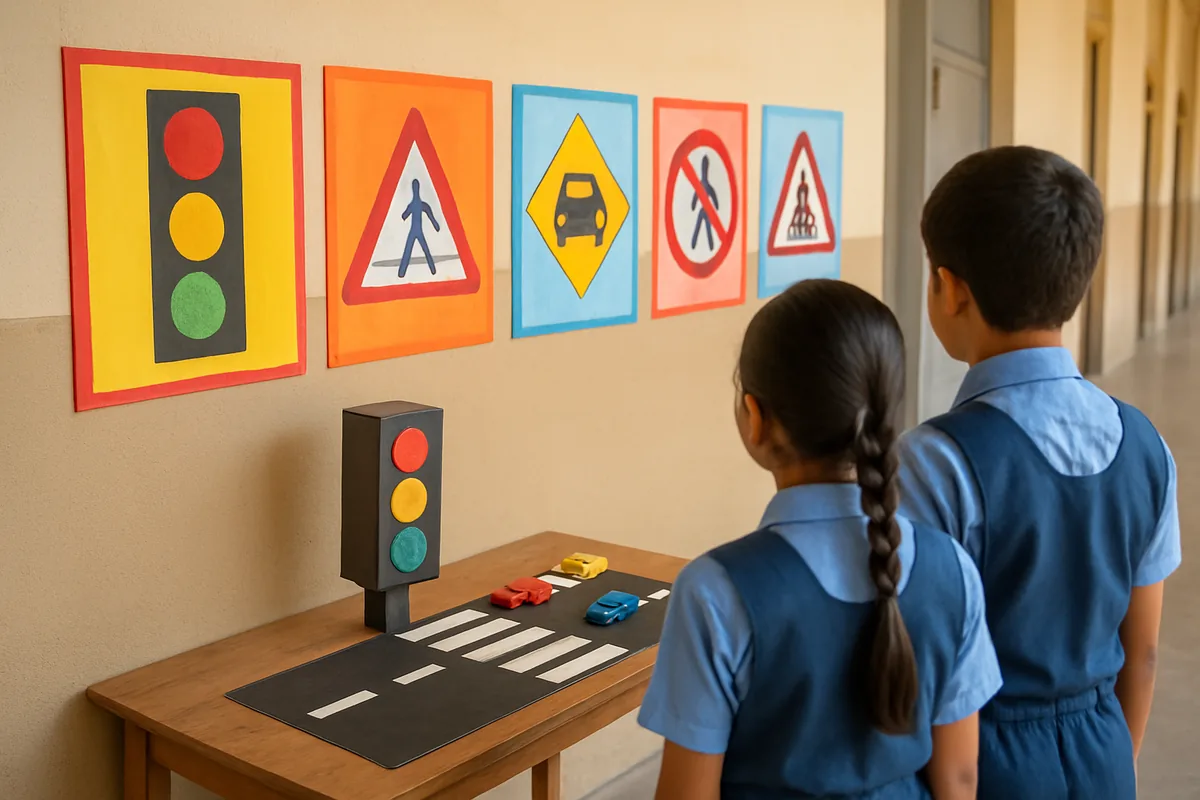
Display ideas for the classroom and corridor
Once the chart is ready, place it where children actually stop and look:
- Near the classroom door, at the eye level of the youngest students.
- In the corridor next to the school gate, where children wait for buses and vans.
- On the road safety board during a safety week or assembly.
- As a group of charts, one per section, along a wall like a small street.
You can also make a mini traffic corner. Put the chart above a table with a cardboard signal model, toy vehicles and a paper zebra crossing. For a working model with sensors, look at the smart traffic light project. To learn how signals guard children at the gate, read about traffic lights at school.
Questions people ask
What should I write on a traffic signal chart?
Write what each light means, the names of a few signs and five or six short rules. Keep each line short so younger students can read it. Add one slogan at the bottom.
Which signs are best for a class 2 or class 3 chart?
Choose signs children see near school: School Ahead, Pedestrian Crossing, Stop, No Entry and Hospital. Draw them big with clear shapes. Five signs are enough for a young class.
What colour are Indian warning signs?
Cautionary or warning signs are triangles with a red border and a white middle, with a black pictogram inside. Mandatory signs are red circles. Informatory signs are blue rectangles.
Can I make the poster on thermocol instead of chart paper?
Yes. A thin thermocol sheet makes the poster stiff and easy to stand up. Stick the chart paper on it with glue stick, and ask an adult to trim the edges.
How do I make my chart look neat?
Plan in pencil first, use a ruler for every straight line and a round lid for circles. Use only a few colours for text. Leave space between blocks so nothing feels crowded.
Is a traffic rules poster for school the same as a signal chart?
They overlap a lot. A signal chart puts the lights in the centre, while a rules poster gives more room to the rules. Both should show correct sign shapes.